Pushing Bulk Records
Select “Browse patients” from the “Browse” drop down menu on the right side of the PhenoTips header, between “Create” and the search bar.

On the “All patients records” page, select “Push to PhenomeCentral” on the far right, below the blue PhenoTips header.

The login dialog will pop up. Input your registered PhenomeCentral username and password into the dialog box to login to PhenomeCentral. Click the available link to request an account if you don’t already have one.
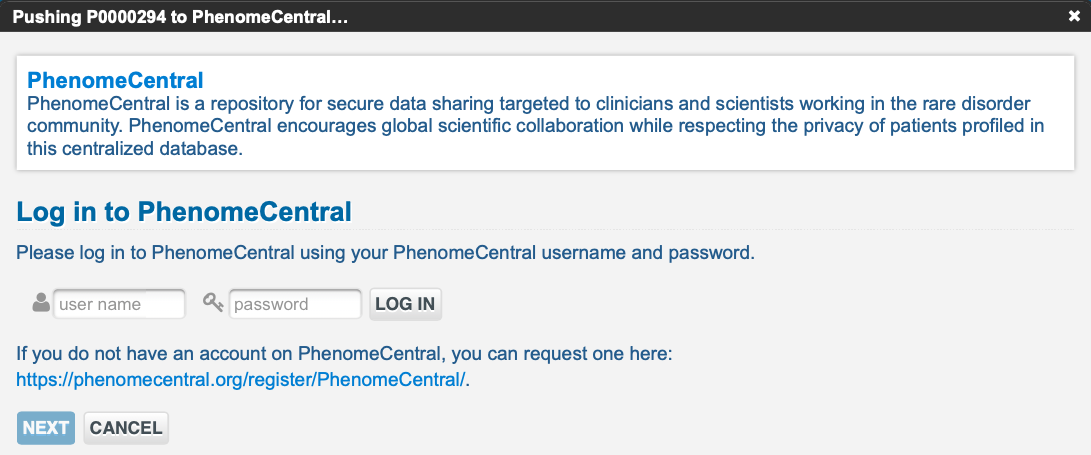
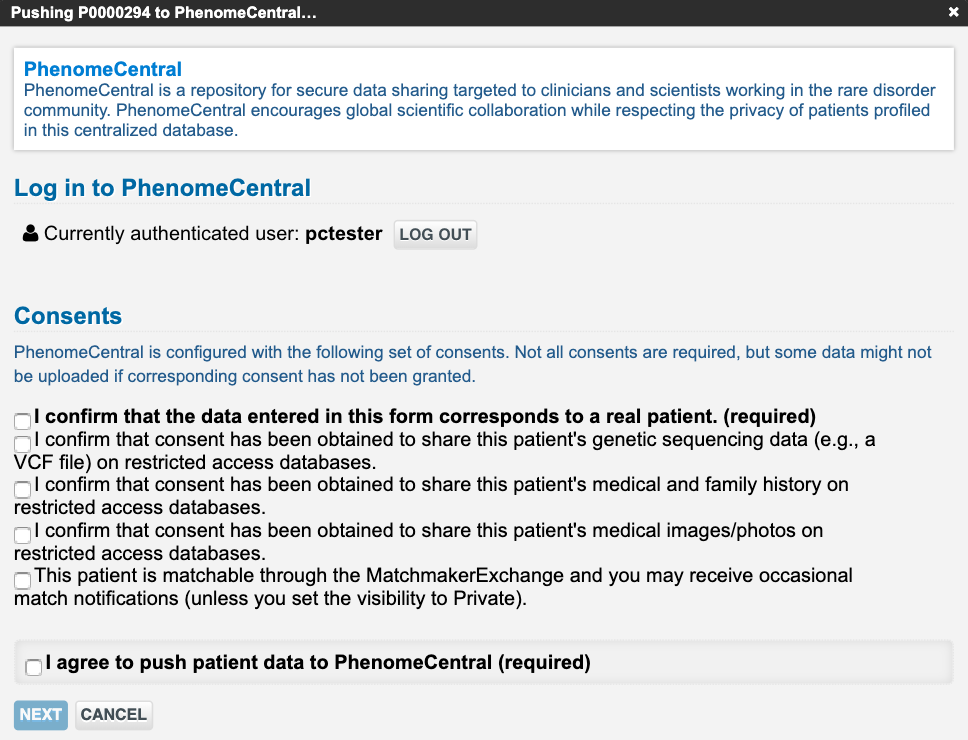
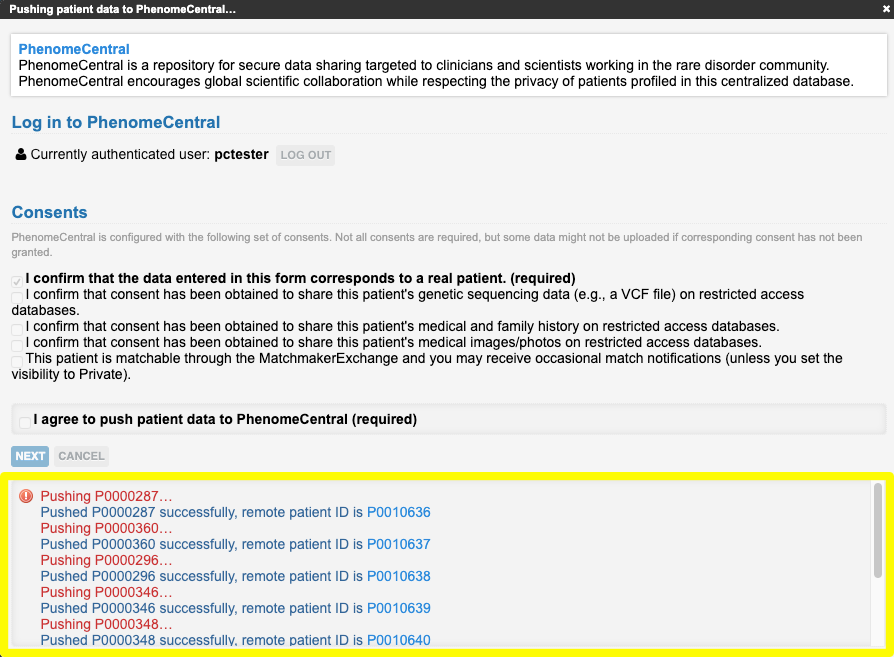
Once you’re logged in, check consents. Check the “I agree to push data to PhenomeCentral” checkbox. The “NEXT” button will be enabled once all required consents are selected. Click the “NEXT” button to continue.
Another form will appear, sectioned into two steps:
- Step 1: Filter for patients you wish to transfer
- Step 2: Select the patient record fields/sections you wish to transfer
Step 1: “Filter records you wish to export”
By default, all of your patients will be selected. You can filter for specific patient records by entering data into the fields. You can filter by privacy level, identifier, referrer, owner, collaborator, last author, creation or modification dates, patient date of birth, clinical or final diagnosis, phenotype, and/or gene. If you have a team account or are using PhenoTips Enterprise with study features enabled, you can also filter by study. At the bottom of the form, the number of patient records matching the filter is shown. Only these files will be pushed to PhenomeCentral.
Step 2: “Select the fields to be exported”
By default, only external identifier, sex, phenotypes and diagnosis are pre-selected. You can select to transfer additional fields from the patient record, or exclude those that are pre-selected.
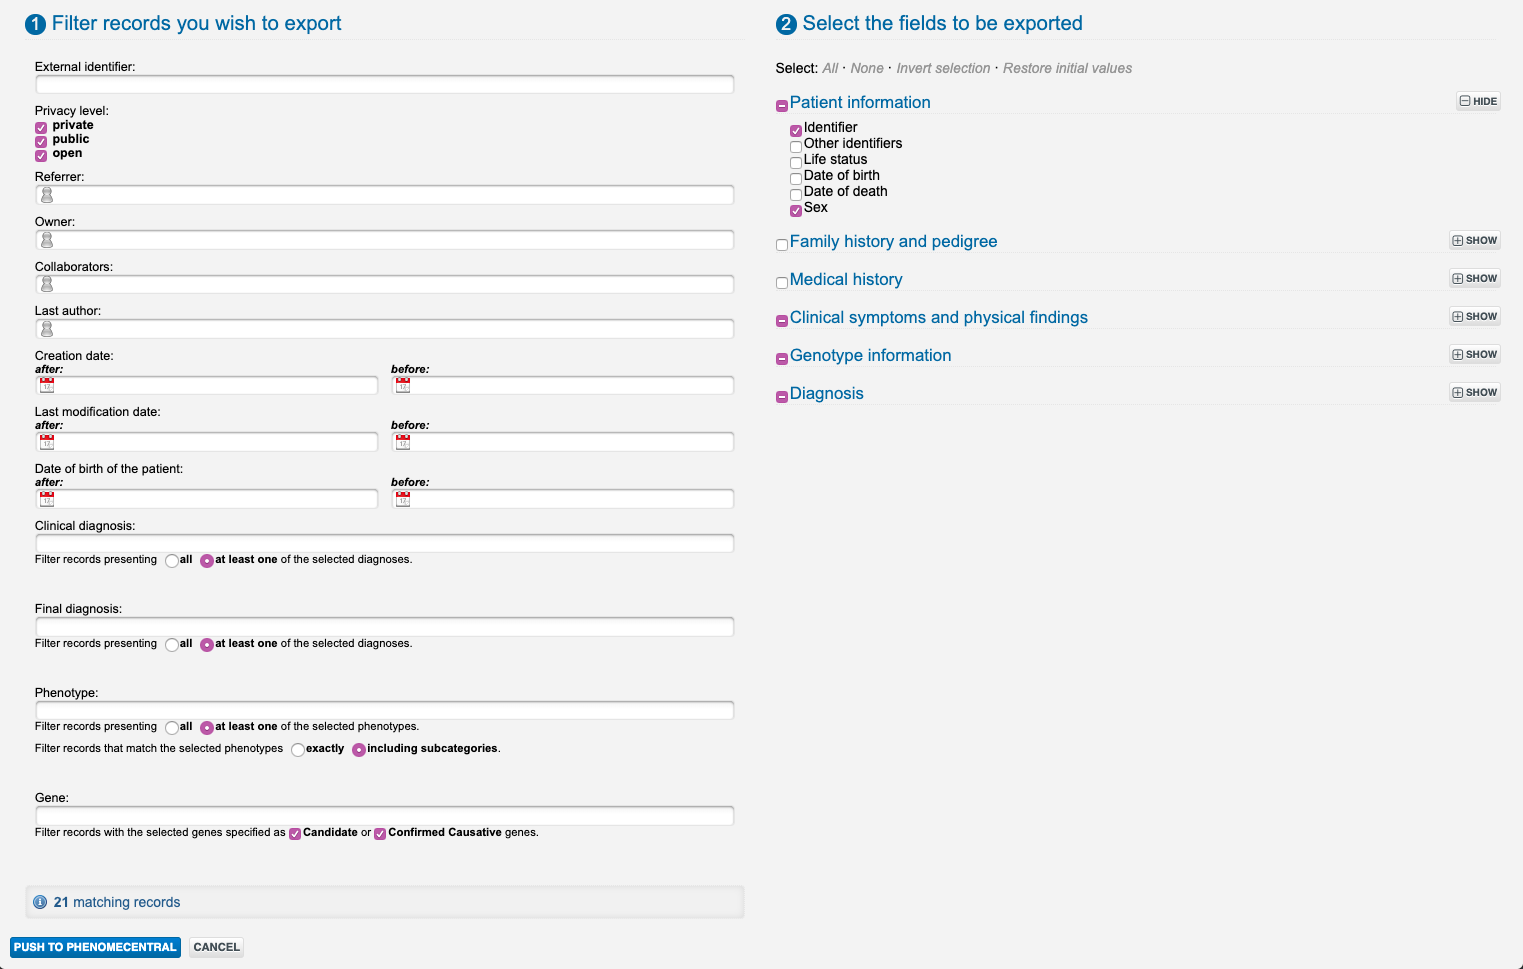
Once you are finished both steps, slick on the “PUSH TO PHENOMECENTRAL” button. A confirmation dialog, listing selected patient records to be pushed, will appear. Click on the “YES” button when ready to confirm the push.
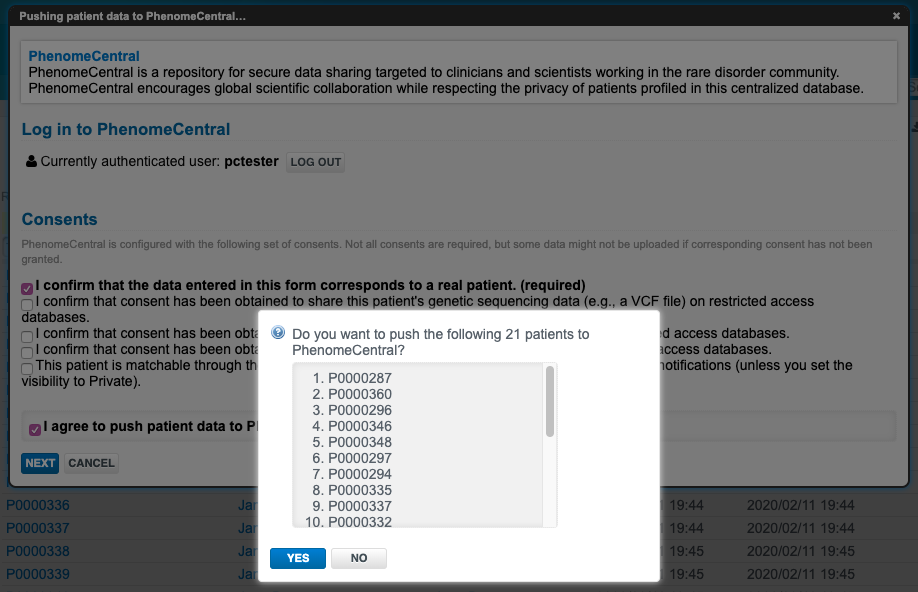
The transfer of the patient records will begin and the status for each pushed record will appear at the bottom of the form, below the “NEXT” and “CANCEL” buttons.
Updated 6 months ago
